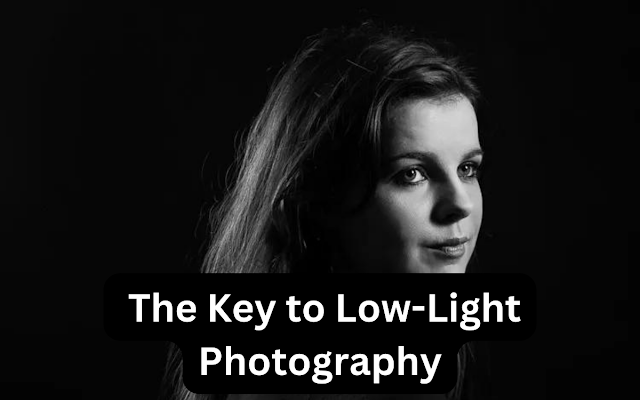
Understanding ISO: The Key to Low-Light Photography
Photography is a dance between light and shadow, and in the realm of low-light conditions, understanding ISO becomes paramount. ISO, the measure of your camera sensor's sensitivity to light, plays a crucial role in capturing compelling images when illumination is limited. In this comprehensive guide, we'll unravel the intricacies of ISO, explore its impact on low-light photography, and equip you with practical tips to master this essential element of your camera settings.
Demystifying ISO
ISO Defined:
ISO, originating from the International Organization for Standardization, is a numerical scale representing the sensitivity of your camera's sensor to light. In essence, it determines how effectively your camera can capture images in varying lighting conditions.
ISO Scale:
The ISO scale typically ranges from 100 to 6400 and beyond. A lower ISO (e.g., ISO 100 or 200) is suitable for well-lit environments, providing crisp images with minimal noise. On the other hand, higher ISO values (e.g., ISO 800, 1600, or more) enhance sensitivity, making it invaluable for shooting in low-light scenarios.
The ISO, Aperture, and Shutter Speed Triangle
Mastering low-light photography involves a delicate balance between ISO, aperture, and shutter speed. These elements form an interconnected triangle, where adjustments in one parameter necessitate compensatory changes in the others.
1. ISO:
Higher ISO: Boosts sensitivity, allowing for better performance in low-light conditions.
Drawback: Introduces digital noise, affecting image quality.
2. Aperture:
Wider Aperture (Lower f-stop): Admits more light, suitable for low-light scenarios.
Drawback: Shallower depth of field, impacting the range of focus.
3. Shutter Speed:
Slower Shutter Speed: Allows more light to reach the sensor but increases the risk of motion blur.
Drawback: Requires stabilization techniques to counteract camera shake.
Practical Tips for Low-Light Photography
1. Use a Wide Aperture Lens:
Invest in lenses with wider apertures (e.g., f/1.8 or f/2.8) to maximize light intake, providing versatility in low-light situations and facilitating creative depth of field effects.
2. Shoot in RAW:
Capture images in RAW format to retain more data and have greater flexibility during post-processing, enabling adjustments to exposure and noise reduction.
3. Experiment with High ISO Values:
Embrace higher ISO settings when necessary, recognizing that modern cameras handle elevated ISO levels more effectively, and noise reduction techniques can be applied during post-processing.
4. External Lighting:
Supplement available light with external sources like speedlights or continuous lighting. This allows you to control and enhance lighting conditions, especially in challenging low-light environments.
5. Focus Carefully:
In low-light situations, achieving precise focus can be challenging. Utilize your camera's autofocus system, consider using a flashlight for assistance, or resort to manual focus for critical accuracy.
6. Image Stabilization:
Activate image stabilization if your camera or lens supports it. This feature helps mitigate the effects of camera shake, particularly when using slower shutter speeds in low-light conditions.
7. Exposure Bracketing:
Experiment with exposure bracketing, capturing a series of shots at different exposures. This technique provides a safety net, ensuring at least one frame is perfectly exposed for post-processing adjustments.
Conclusion: Illuminating Your Photographic Vision
Understanding ISO is akin to wielding a powerful tool that illuminates the canvas of low-light photography. As you embark on this journey, grasp the delicate balance between ISO, aperture, and shutter speed. Through practice and experimentation, you'll not only conquer the challenges of low-light conditions but also unlock the potential to capture mesmerizing images that tell compelling stories in the absence of abundant light. Happy shooting!


